How to refashion a shirt that is too small or ripped

You know those clothing websites that are all over these days and offer really cute clothes at outrageously low prices? It's always a gamble to know what you are gonna get, and most of the time, you get what you pay for. Take this shirt, for instance.

I thought the flower embroidery across the front was cute and I needed a new crisp white shirt. And for under ten bucks, I thought I would give it a shot. That was until I tried it on for the first time and this happened:

RIP. Literally, it ripped right down the back. I threw it in the back of my closet thinking maybe I would try and fix it or throw it away later. It sat there for about 8 months before I decided to try and remedy the situation. I decided to try and add a button placket to the back.
But first, side note. Did you already know this cool trick when you need to change your serger threads? You tie the ingoing threads to the outgoing threads with nice little knots and when you start serging, the threads will automatically be pulled through. Loosen the tension on the machine before you start.
Thank you Pinterest.

Ok, now this is how I added the button placket:
1. I started by cutting the back in half. Luckily, the rip was placed nicely in the center, so that worked out in my favor.

2. I cut out 2 pieces of black gingham cotton about 3 1/2" wide by the length of the shirt.

3. Then I added a nice heavy interfacing to the back of each of the strips.

4. I folded them in half, right sides together, and sewed across the short end on the top and bottom of each strip, turned it with right sides out, and pressed it.
5. I pinned one of the plackets with right sides facing to one of the newly cut edges on the shirt, then sewed it and serged the edges.

Then I topstitched the seam allowance close to the edge of the placket.
6. I then repeated step #5 to add the other placket on.
7. Next, I added buttonholes to the left strip. Is it just me, or does anyone else find adding buttonholes super gratifying?

8. Next came hand sewing the buttons on to the right placket.
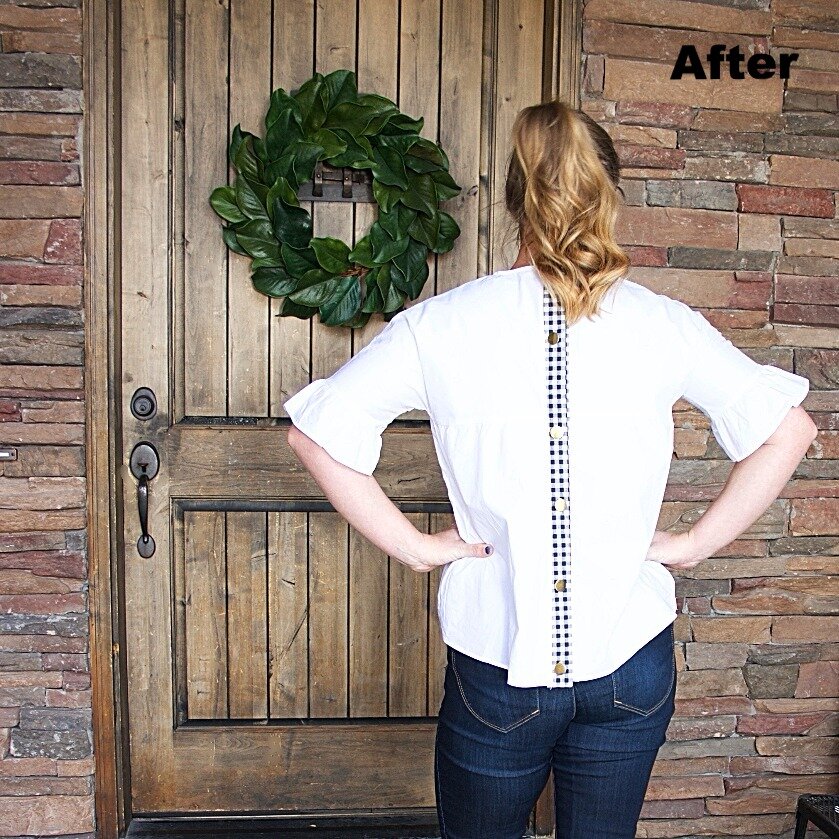
Ta-Da! Much better. Although I will need help getting in and out of this shirt every time I want to wear it, my husband said he would be happy to help. :)
And I have the satisfaction of turning this unwearable shirt into something wearable again.
